Saturday, September 20, 2014

How to find the IP address of a website

To find the IP address of a website we do not need any special software, just use the command prompt (cmd) way is quite easy, we simply do a ping terhdap website we want to know the IP address, if you do not understand how to follow these steps:

start > run > cmd
  1. Open the Command Prompt application (CMD)
    - Click Start> All Programs> Accessories> Command Prompt
    - Windows 8: Right-click the Windows logo> RUN> type CMD
    - Hotkey: Press the Windows logo + R> Type cmd


    HOTKEY Windows+R > cmd

  2. Once the Application Command Prompt (CMD) Open Type the following command
    "ping destination web address" (without the quotes) then press Enter,
    Exampleping www.2nd-strike.blogspot.com
    Or As Sample Image Below:

    Type ping the address of the site you need to know the IP Addressnya
     
  3. If you already Typing command Ping And Pressing the Enter IP Address And Will Appear Such Web Site, Example Here IP www.2nd-strike.blogspot.com blog is 74.125.68.132

    ping www.2nd-strike.blogspot.com


    DONE !!

Make a color wheel / round color with slow speed technique

the exotice of undar kincirangin

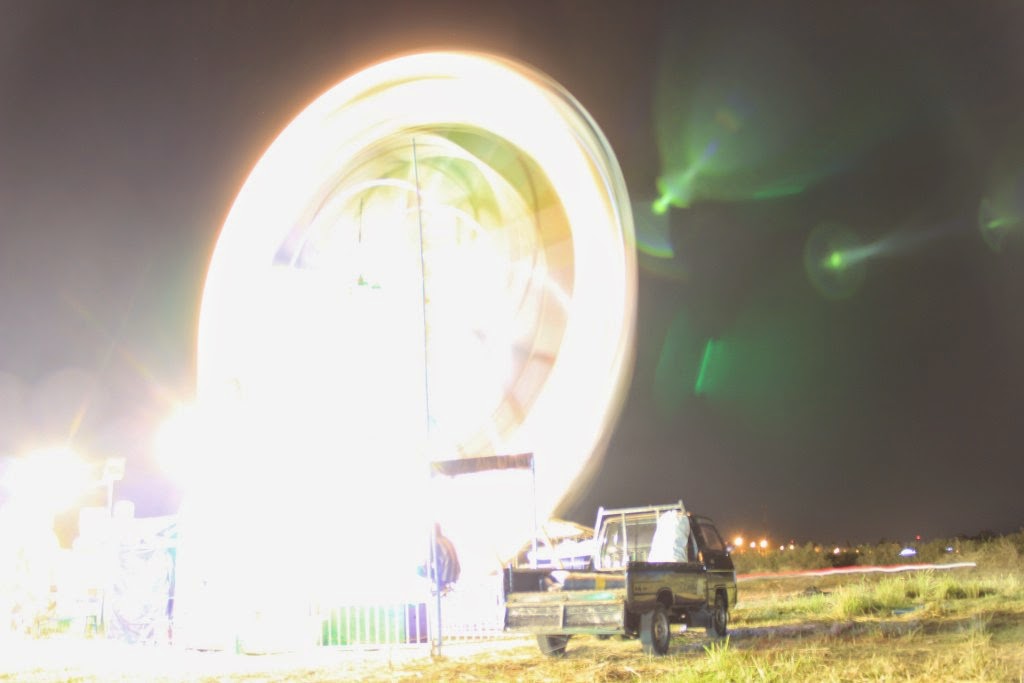
      At the time of the event the night market, or frequent the community of Brebes familiar with the term "bancakan" or "metikan" which is an annual event PG Jatibarang often we see a variety of amusement rides for children - children and adults, such as carousel, barrel devil, Undar ombakbanyu, rainbow / Undar "kincirangin" hefty adrenaline when we ride ... I'm sure you too must have felt the excitement rising Undar not?

Here we will not discuss the rise kincirangin (Ferris wheel) or ride the waves Undar banyu, we will discuss the technique of slow speed in order to form a round rainbow colors or community EXOTIC Bradford familiar with the term "exotice the color wheel of Undar kincirangin", Yes Undar windmills often we see when the show metikan in Bradford, or in Jogja often encountered when sekaten event. well you know how come back to it again ?. Okay from the run-around - muter immediately wrote back to the topic of how to make "round / exotic color wheel" and what immediately wrote cekidot penampakanya uh check it out!
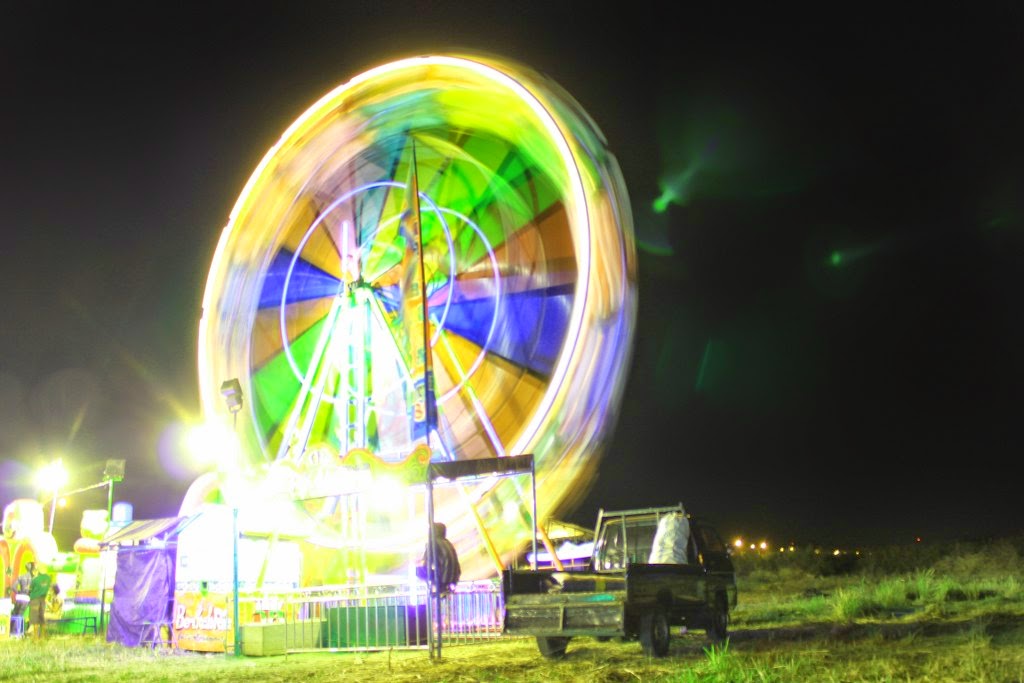

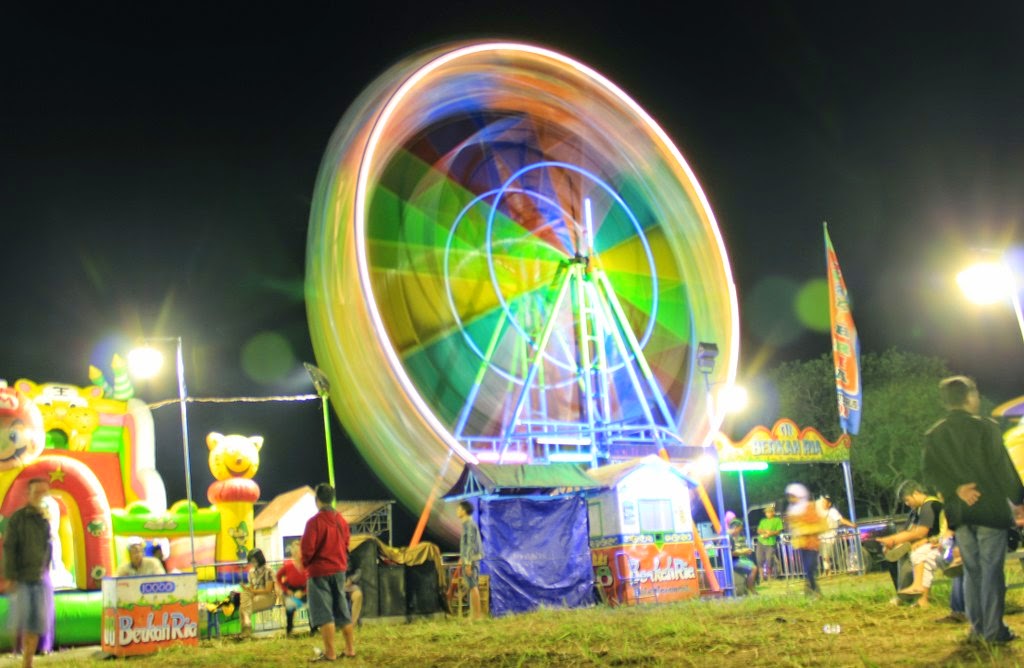
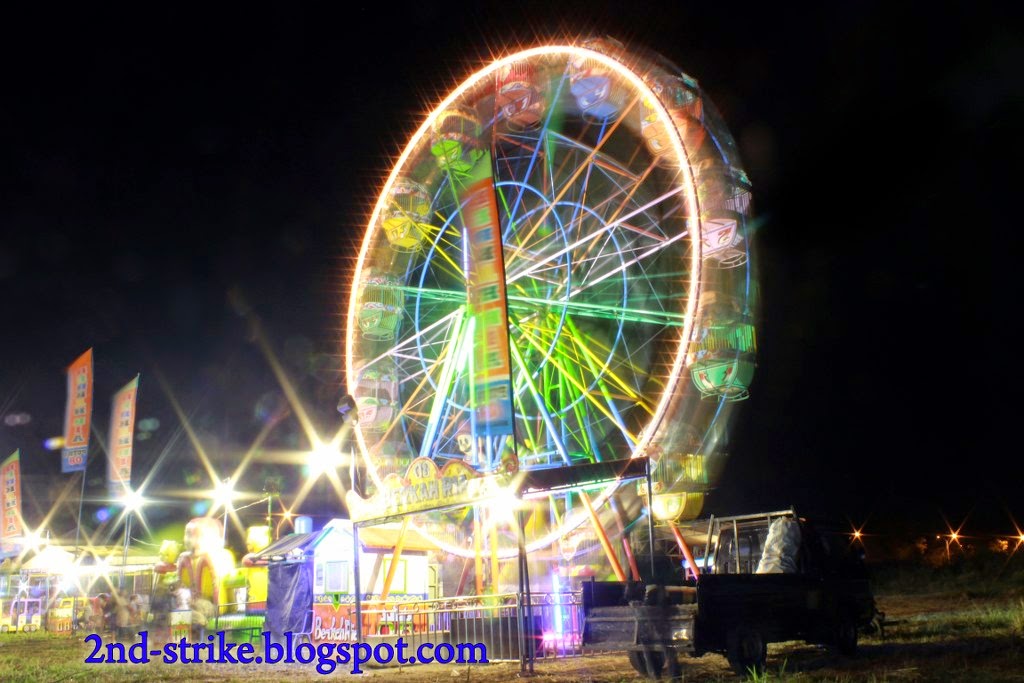
Photo by Ari Dwi Yuda Prawira, Loc : Parkir timur Std.Maguwo Harjo, Sleman, Yogyakarta


f/3.5, exposure time 1 sec, ISO speed 100, Exposure bias +2 step, Kit 18 - 55 mm


    TOOLS


    •      The camera features manual settings (MANDATORY)
    •      Tripod (Mandatory)
    •      Remote shutter (Sunna)
    •      Lens hoods (Sunna)

      The basic principle

      color wheel (kincir warna) is made up of light and color blades - blades rotating Ferris wheel, we should be able to set its shutter speed, exposure, and also harmonious iso speed according to the speed of the Ferris wheel rotation, their end so that the camera can record with the right composition that will produce a good image color wheel.

      Tips on taking the color wheel

        1. Use diaphragm / aperture large
        2. Setting the shutter speed from 1 second to top
        3. Use ISO Speed ​​Low
        4. Turn off auto focus and manual focus search
        5. Find the best angle and try the rare people passing by (this point is quite difficult)
        6. Many try, and do experiments with the play setting shutter speed, aperture, ISO speed, white balance, etc..

          Trial and Error

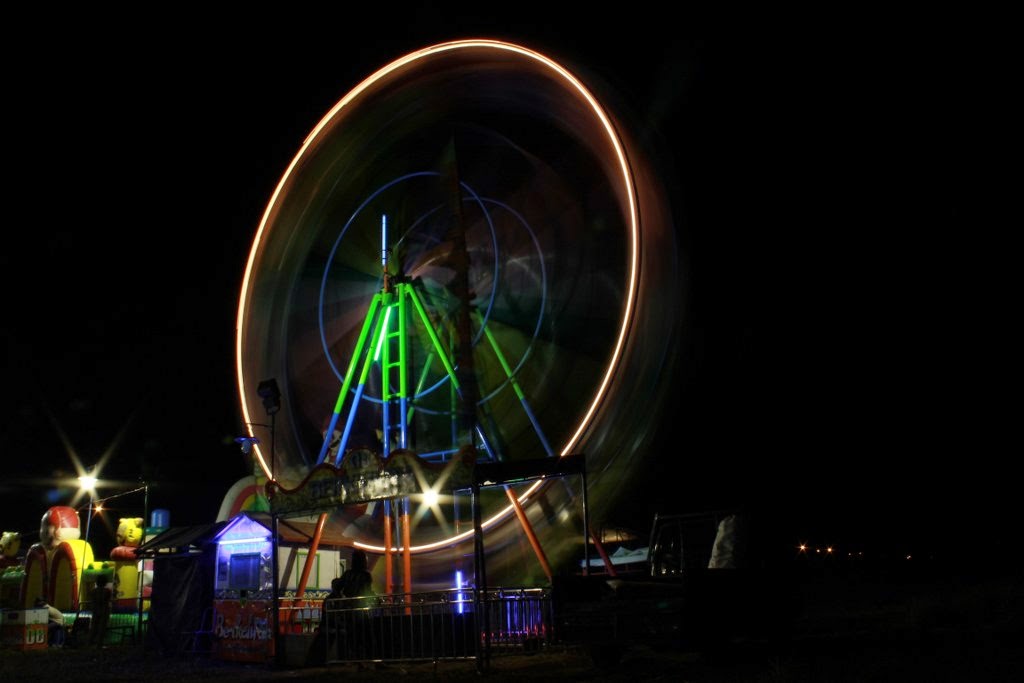
          Trial and error is common in photography especially for beginners who are just learning like me, which is important we keep learning and correction. Here's a photo - photo when I tried to make a photo rainbow color wheel.


          trial and error photos

          over exposure


          under exposure
          Okay so a technique to make a color wheel / color wheel, may be useful for you. good luck and Greetings jeprat - snap !!

          Tuesday, September 16, 2014

          Light Trail Photo Techniques

          Slow Speed Tugu Yogyakarta

          photo light trail are photo techniques with the main object is visible trailing vehicle lights follow the road, photo light trail is quite popular as a form of experimentation for the photography hobbyist. light trail photo techniques included in the category of slow speed or technique often called long exposure technique. In this article I will discuss how to generate light trail photo.

          Foto by ARI DWI YUDA PRAWIRA, 25 detik, f/22, ISO 100, Loc. SEMESTA Cafe
          Jln Abu bakar Ali Kotabaru 2A Yogyakarta

          TOOLS


          For photographing light trails we need a camera with manual control features, where we can set the exposure by changing - change one of the three components of the exposure triangle. You can use a DSLR camera, mirrorless or even a pocket from a pocket camera that offers features that I mean above. What are the extra tools and accessories are required:

          1 Tripod
          2
          Lens Hood
          3
          Remote shutter

          Basic techniques


          In principle, photo light traces generated by cameras record the movement of the light car / motorcycle on the street at night. Due to long exposure duration (a few seconds), then the movement of the lights appear as a line of light down the road.


          Foto by ARI DWI YUDA PRAWIRA, 25 detik, f/22, ISO 100, Loc. K24
          Jln Abu bakar Ali Kotabaru Yogyakarta

          Camera Settings Recommendations

          •   Use the shutter priority mode
          •  Set the shutter speed longer than 6 seconds.  
          • Experiment with shutter speed, adjust until you are satisfied with the appearance of the resulting light trails, as he looked at the photos can vary depending on the speed of passing vehicles. Do not forget, there is still the option to use the bulb mode if you want to experiment further 
          • Turn off the flash !! 
          • Use a low ISO  
          • Turn off the High ISO Noise Reduction feature (or whatever term you on camera), this feature can slow the process camera photo 
          • Consider the composition of your photos. Techniques can be okay, but the composition must be considered. Form of road will greatly affect the shape of the lamp trace. Look for the form or shape of the look angle that looks interesting 
          • For these types of photos like this, use manual focus or set the focus point at the infinity position, use the depth of field is not too narrow


          Advanced Light Trail Tips


          Here are some of the problems that often arise when shooting light trails following solution:

          • Photo traces of light that makes both car / motorcycle disappeared from the photo. If the car / bike is still visible, it means that you are less long exposure. Create a longer shutter speed until the car / motor does not appear anymore 
          •  Equally, if traces of light in your photo dashed. Means setting your shutter speed is still less than the old
          •   If overexposure occurs (the images are too bright), lower aperture value (example: from f / 4 to f / 8). Nor vice versa.

               Okay, Good luck bro and bra. . and Salam jeprat - Snap !!!


              Friday, September 12, 2014

              change the hostname in the backtrack terminal's

              for new users of the operating system backtrack (like me) pastii & should already know the "terminal" due to operate this system largely fed through terminal commands, sort cmd (command prompt) in windows. when opening the terminal often we see the root @, indicating that we are login / access using the root user, linux highest user has full access rights. nah never thought not to change rename root @ bt, eg so root @ me or @ my own.

              if so here's how

              A. Changging Hostname
              1. Open terminal
              2. Type

              # hostname brebes-cyber
              - brebes-cyber change in accordance with the host name that will be replaced

              3. enter


              Speeding up the process of uploading photos to the website, facebook, twitter, blogspot, wordpress, etc..

              Have you ever felt irritated because upload many pictures to your website or facebook and very, very long time ?, cause there are 2 things:
                • your internet connection is very slow
                • the size of the file you upload is too large. Moreover, the picture was taken from Digital Camera / DSLR, usually larger than 1 MB.
                  For the second problem you can solve it in a way to resize the image resolution to a smaller file size, you can use the default Windows software, "paint". but you can only me resize images one by one, then what if you want to upload tens or even hundreds of images? it's very tiring if you have to resize images one by one.
                  Well, on this occasion I will give the steps reduce the size of many large pictures. We will use a great software called Fast Image Resizer. This software is small chili. Why so? Due to the very small size (only 443 Kb) while the benefits are great eh usefulness.

                  Here are the steps:

                  1. dowload software fastimageresize HERE
                  2. for download (download), right click on the written Fast Image resizer, and then click Save Link As


                  3. Been downloaded, install the program directly

                  4. Run Fast Image resizer software is
                  5. Click the Options button, select / check the Always On Top, so the program is always displayed at the top
                  6. Select the resolution or file size you will expect (see picture below)
                  7. Open the files or folders you have images (note the file size)
                  8. Block entire image file (click on one of the most above- file press the shift key - click on the file below)
                  9. Drag the file before, then drag up Fast Image resizer program,
                  10. Wait for image resizing process is complete (a few seconds)


                  11. Automatically created a new folder in the folder named resized image that you open
                  12. Open Resized folder
                  13. Note the size of the entire image file is much smaller (file size depends on your choice in step 6)

                  Note the pictures below ..

                  before resize
                  after resize


                  apparent differences in the size of the file be MUCH smaller.
                  Congratulations upload / upload / put pictures on Facebook or your website quickly: D

                  Wednesday, September 10, 2014

                  Download all files in one website at once Using IDM Grabber

                  The trick I use to download the image file on a site that a lot of store image - cool wallpaper images.


                  Those interested please see how ..

                  First, prepare the application of IDM (Internet Download Manager)
                   
                  1. Open IDM       
                  2. Select menu grabber
                  3.  Fill in the Project Name Grabber with any name, example Wallppaper 
                  4. Start page / addresses with the address of the website that we grab

                  grabber idm 2nd-strike.blogspot.com


                  • Open the project template drop down, select all picture of the website (if we want to grab just the image file only). Click next
                  • Specify the storage location of the file, misalnyai we select "All Files to the following folder" which means all files included into a folder.
                  • Check the original use of sub folders if want to store it in a sub-sub-folders. click next
                  • In this form we can determine a lot of pages that will be explored in a website, though more details please go to the help menu IDM grabber.
                  • On the menu levels within the base of Web content with the number 0 if only one page alone will menggrab the diwebsite.
                  • On the menu levels on other Web content with the number 0 if only going menggrab this site alone. select the next
                  • in this form we will determine the type of file to be in the grab.
                  • Open the dropdown "download the following files".
                    Select
                    image files (* gif, *. Jpg, *. Png, ......).
                  • Check the "search files on this site only" and "hide duplicate files found in different locations"
                  • Click advanced to determine the size of the files that will be in the grab. Select the next
                  • Last check all the files you want to download by clicking the download terminated.


                    GRAB
                  NOTE

                  not all sites can digrab, a few days ago I tried a trick to download all the files in this blog work, work 100% .